What’s the best way to make coffee at home?
For many of us, our morning coffee is how we start the day. With so many people working from home right now, we’re no longer able to pass by our local coffee shop or share a brew at work with colleagues. It’s time to take matters into our own hands.
Here at The Barista, the day begins with a morning Chemex and team catch up. But, this isn’t currently an option. Instead, we thought we’d fill you in on the best way to make coffee at home, as told by our team from the safety of their homes.
The best way to make coffee at home – the definitive guide
Ultimately, the best way to make coffee at home is down to how you like your coffee. The method you choose will result in a different tasting experience.
There are 5 main brewing methods
Here are the benefits at a glance:
Cafetiere – it’s fast and easy, and free from filters. Make tasty coffee for yourself or your household with minimal effort.
Chemex – this method picks up the subtle flavours of the coffee and makes a smooth brew for your household to enjoy together.
V60 – the resulting flavour is like the Chemex, picking up the distinct flavours of the coffee. This method is suitable for making one or two coffees at a time.
Aeropress – this method makes a stronger, fullbodied coffee for one person.
Moka pot – it’s brewed on the hob and makes a thick, muddy coffee that can be served strong or topped with hot water.
Part 1: Equipment
Brewing the best coffee at home – the key bits of equipment to have
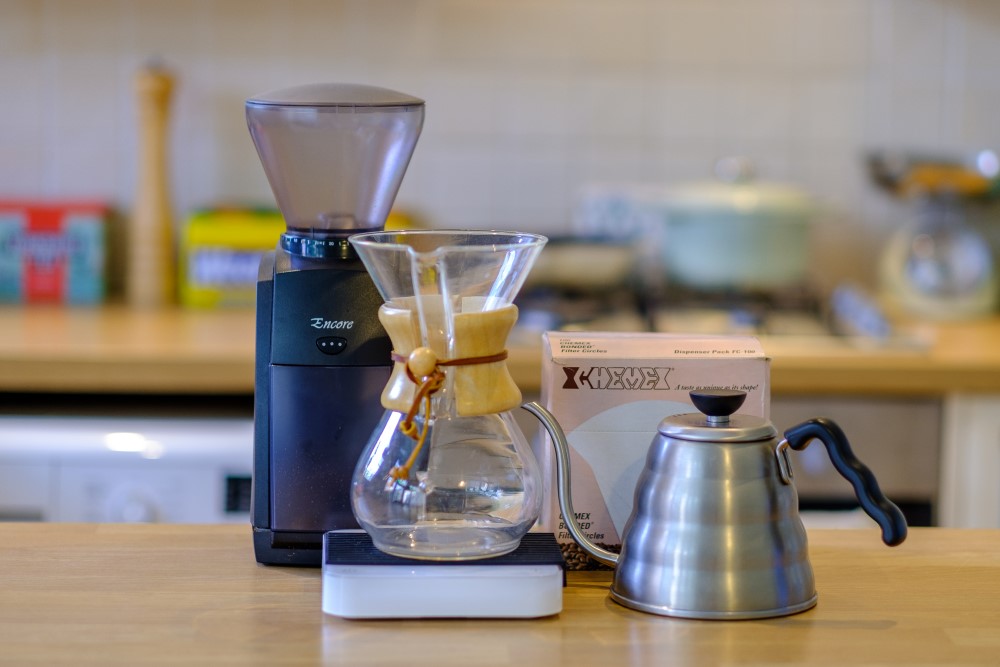
Before we get stuck into the methods, we wanted to share a bit of wisdom surrounding the equipment you might want for brewing up tasty home coffees. While having the right gadgets isn’t a must, it adds to the finished product.
Things you might consider:
• Grinder
• Scales
• Pouring kettle (for Chemex and V60)
• Filter papers (for Chemex, V60 and Aeropress)
Grinder
If you’re going to invest in any home brewing coffee equipment, the best place to spend is on a good grinder. Coffee tastes best just after it’s been ground, so for the best flavours, freshly grinding whole beans is how you’re going to perfect your coffee at home.
If you’re serious about good coffee and have the budget, we’d recommend the Baratza Encore Coffee Grinder. You can adjust the grind in small increments to suit your brew method and it provides fantastic consistency.
If you want something slightly cheaper, then you could look at a hand grinder. Hario does a great range at different prices and the Hario Skerton is a favourite amongst the coffee community.
Scales
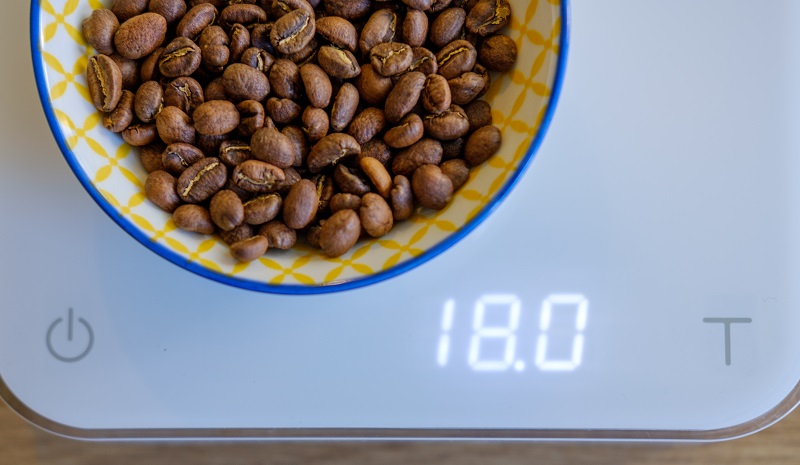
Weighing your coffee beans is about consistency and taste. Coffee beans have different densities. Weighing your grounds allows you to use the same amount of dry coffee to water ratio, for the same great brew every time.
Our go-to scales for home brewing are Acaia Pearls. These scales have a built-in timer, measure to .1 of a gram and have an app that stores your brew data. This is a premium product though and is what our baristas use. Great alternatives include the Rhino Digital Bench Scales and the Hario V60 Scales.
Pouring Kettle
Regular kettles work fine, but if you want more control to get an even extraction (by covering the grounds evenly), we’d recommend a pouring kettle. Hario is a good budget option and with a little more money, you could invest in a Stagg Pour Over Kettle, with built-in thermometer.
Filter Papers
There’s a filter paper to suit every type of coffee brewing method, whether it’s V60, Chemex or Aeropress. Make sure you get the right ones by checking what the manufacturer recommends.
Coffee
This is the big one! It’s time to experiment with different roasters and coffees. There’s not much point researching the best way to make coffee at home, and not finding the coffee you like.
Do you prefer a washed Brazilian coffee with a chocolatey mouth feel and nutty undertones? Or an Ethiopian natural with big fruity flavours and light acidic notes?
You won’t know until you try. Browse social media and it won’t take you long to find plenty of speciality roasteries with good selections of coffees to try. If you follow our Instagram account, we often share when we’ve sampled coffee from a new roastery.
Part 2: Brewing Methods
The best way to make coffee at home – methods to try
How much coffee should I use per measure of water?
A good rule to follow for brewing coffee is to stick to a ratio of 60 grams of coffee per litre of water. Some coffees work better with a slightly higher amount of coffee to water but 60 grams to 1 litre is a great starting point and people can experiment from there.
For the following examples of brew recipes, we’ll do all of them based on 18g of coffee and 300ml of water to make a cup of coffee for one.
If you’re making more than one, then just scale it up e.g. 30g coffee and 500ml of water. And if you want a stronger brew, try adding an extra 5g of ground coffee.
Every change you make will affect the coffee flavour, sometimes for better, sometimes for worse. Experiment until you find the right balance for you.
TIP: It’s useful to remember that, for all recipes, the best water temperature for coffee is between 88° and 92° or just under boiling.
Method 1: Cafetiere
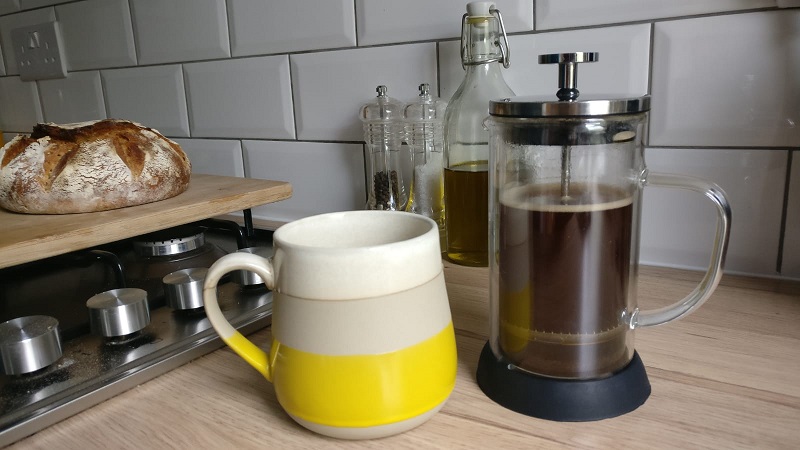
Let’s start with the classic cafetiere. It’s the easiest way to make coffee for yourself or a group, with no need for filters. Follow the steps below and you won’t go wrong:
1. Boil the kettle and allow it to cool slightly.
2. Add 18g of coarsely ground coffee to your cafetiere
3. Add 300ml of your slightly cooled boiled water.
4. Give the coffee a good stir and place the lid on to keep the coffee warm.
5. Wait for 3 and a half minutes to let the coffee brew.
6. After this time, push down the cafetiere filter until you reach the grounds.
7. Serve and enjoy!
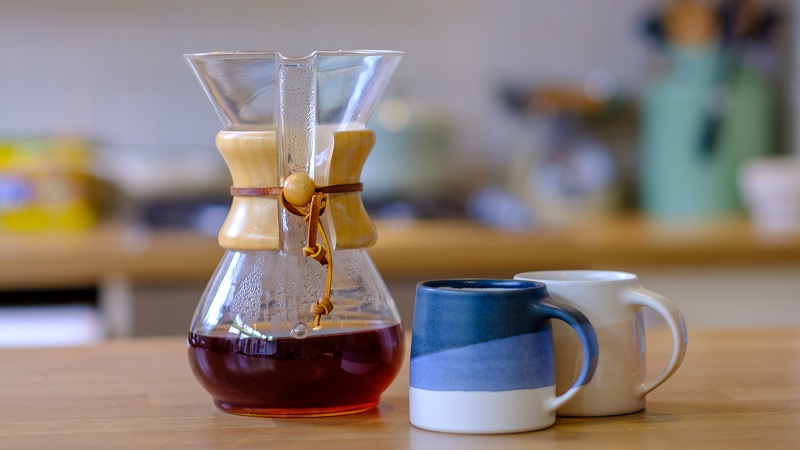
Method 2 & 3: Chemex and V60
We’re going to cover these together as they are very similar processes. But, there’s a difference in the way that you grind the coffee for each brew method. The V60 requires a finer grind than the Chemex, due to the thickness of the coffee filters used for each.
1. Boil the kettle and allow the water to cool slightly.
2. Put your filter paper into the V60/Chemex and pour a small amount of water all over the paper. This wets it and removes the ‘papery’ taste. Discard this water afterwards.
3. Grind your coffee and add it to you filter paper. The V60 grind should be quite fine, whereas the Chemex grind is coarser, like the cafetiere. Add 18g for a V60, and we’d recommend a minimum of 30g of coffee to make 500ml for a Chemex.
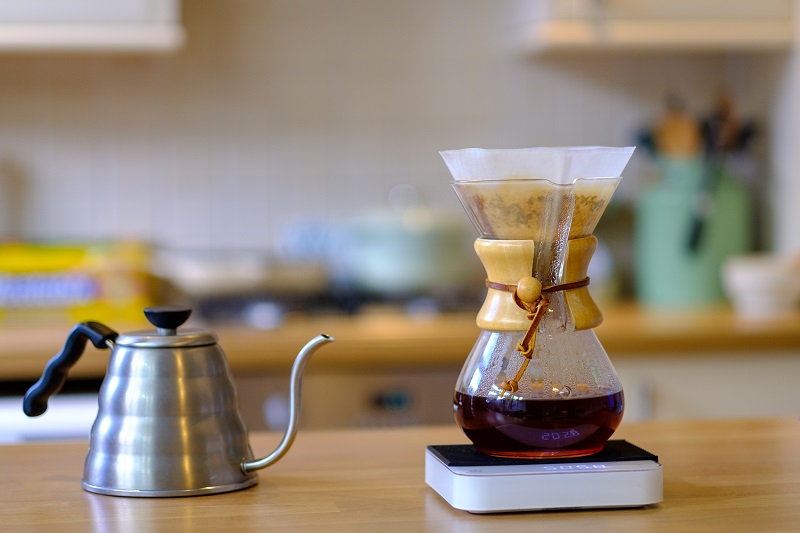
4. To start, add water weighing double the amount of the dry coffee. So, if you have 18g of dry coffee in your V60, then add 36g of water and wait 30 seconds. This is called the bloom. It allows the coffee granules to absorb the water and open up, so maximum flavour is extracted.
5. After 30 seconds, continue adding the water, pouring slowly in a circular motion until you reach your required amount of water.
6. Let all the coffee extract through the filter. This process should take around 3 minutes for a standard V60 and between 3.5 and 6 minutes for a Chemex, depending on how much coffee you’re making.
7. Drink and Enjoy!
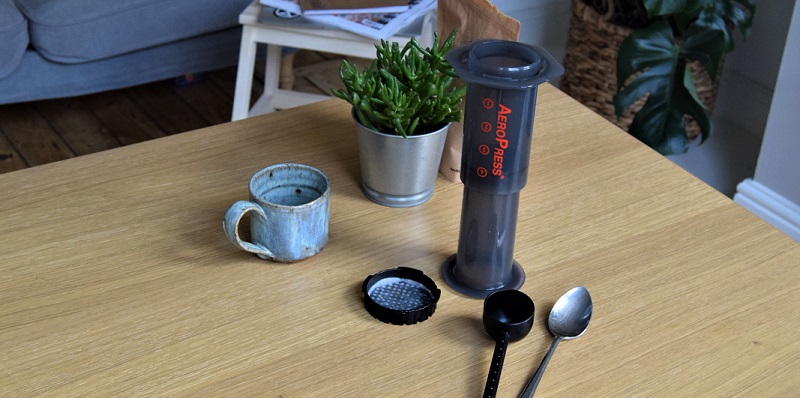
Method 4: Aeropress
The Aeropress makes a stronger coffee for one person, with a bit more body than a V60. Fun fact: the Aeropress was invented by the same company that created the ‘flying disc’ which holds the world record for the longest Frisbee throw.
1. Boil the kettle and allow the water to cool slightly.
2. Put the circular Aeropress filter into the detachable plastic cap, pour some water through to wet the filter.
3. Assemble the Aeropress and place it with the numbers upside down on the scales. Add your 18g of ground coffee. The grind is similar to your V60 grind, something slightly finer than salt.
4. Add double the amount of water for dry coffee and wait for 30 seconds to allow the coffee to bloom.
5. Add the rest of the water up to 300ml. Wait for 1 minute and then give the coffee a good stir. Reattach the cap and turn the whole Aeropress back the right way up.
6. Place the Aeropress over a cup or pouring jug and slowly apply downward pressure. There should be some resistance here; if it pushes down too easily then your grind is too coarse. If it’s difficult, then it’s too fine.
7. Once all the coffee is extracted, sit back and enjoy.
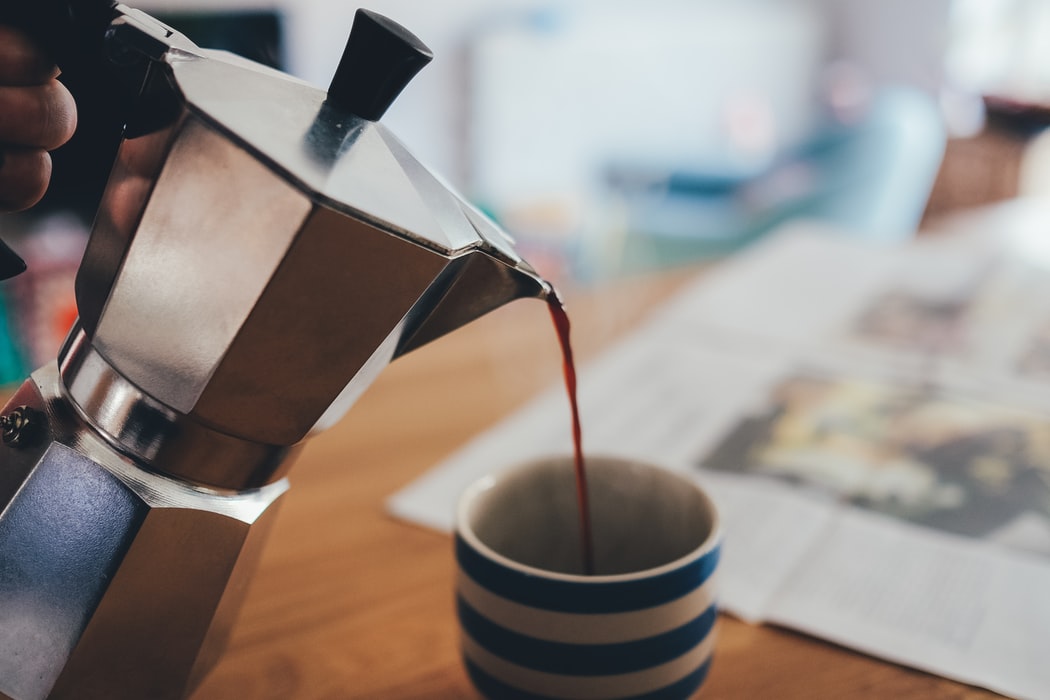
Method 5: Moka Pot
For the last method, we’re going old school with the Moka Pot. This method creates a thick, strong coffee, with water pushed up through the coffee grounds as it boils, extracting as it goes.
1. No need to boil the kettle. Just fill the bottom of the Moka Pot with water up to the valve.
2. Add your coffee to the filter basket and level it off, add the filter to the base of the Moka Pot and then screw the top of the pot back on. You can brew coffee using a Moka Pot without filter papers; the paper removes some sediment.
3. Add heat! The Moka Pot can be placed directly onto a gas or electric hob. Wait for the water to boil and then lower the heat slightly to produce a constant simmer. This will cause the water to rise through the coffee and up the spout, spilling the coffee into the top part of the Moka Pot.
4. Once the pot starts to hiss, the coffee is ready and should be served immediately! Water this one down if needs be – it’s strong!
Do you want to see more from The Barista team? We’re on Facebook, LinkedIn and Instagram – give us a follow!
